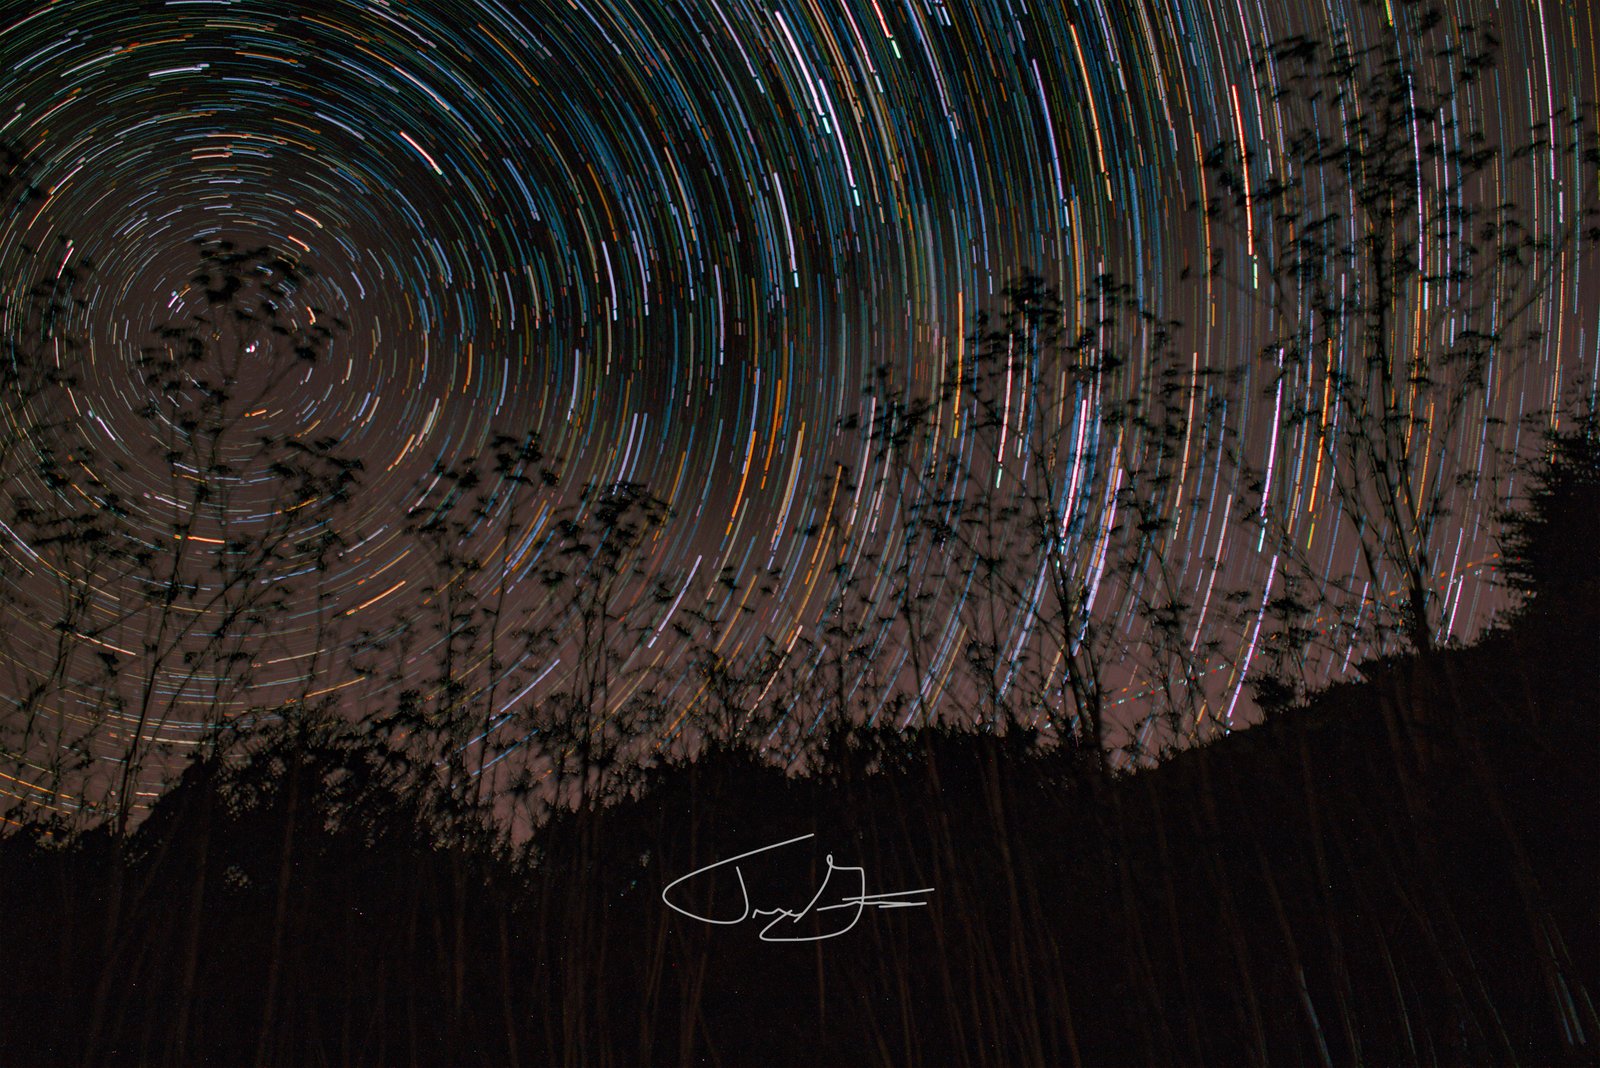
Street Photography
Camera Settings
- ISO: 1250
- Shutter Speed: 4.0 sec
- Aperture: f /18
Equipment
- Camera: Canon R7
- Lens: RF-S18-150mm F3.5-6.3 IS STM
- Accessories: Tripod
Considerations:
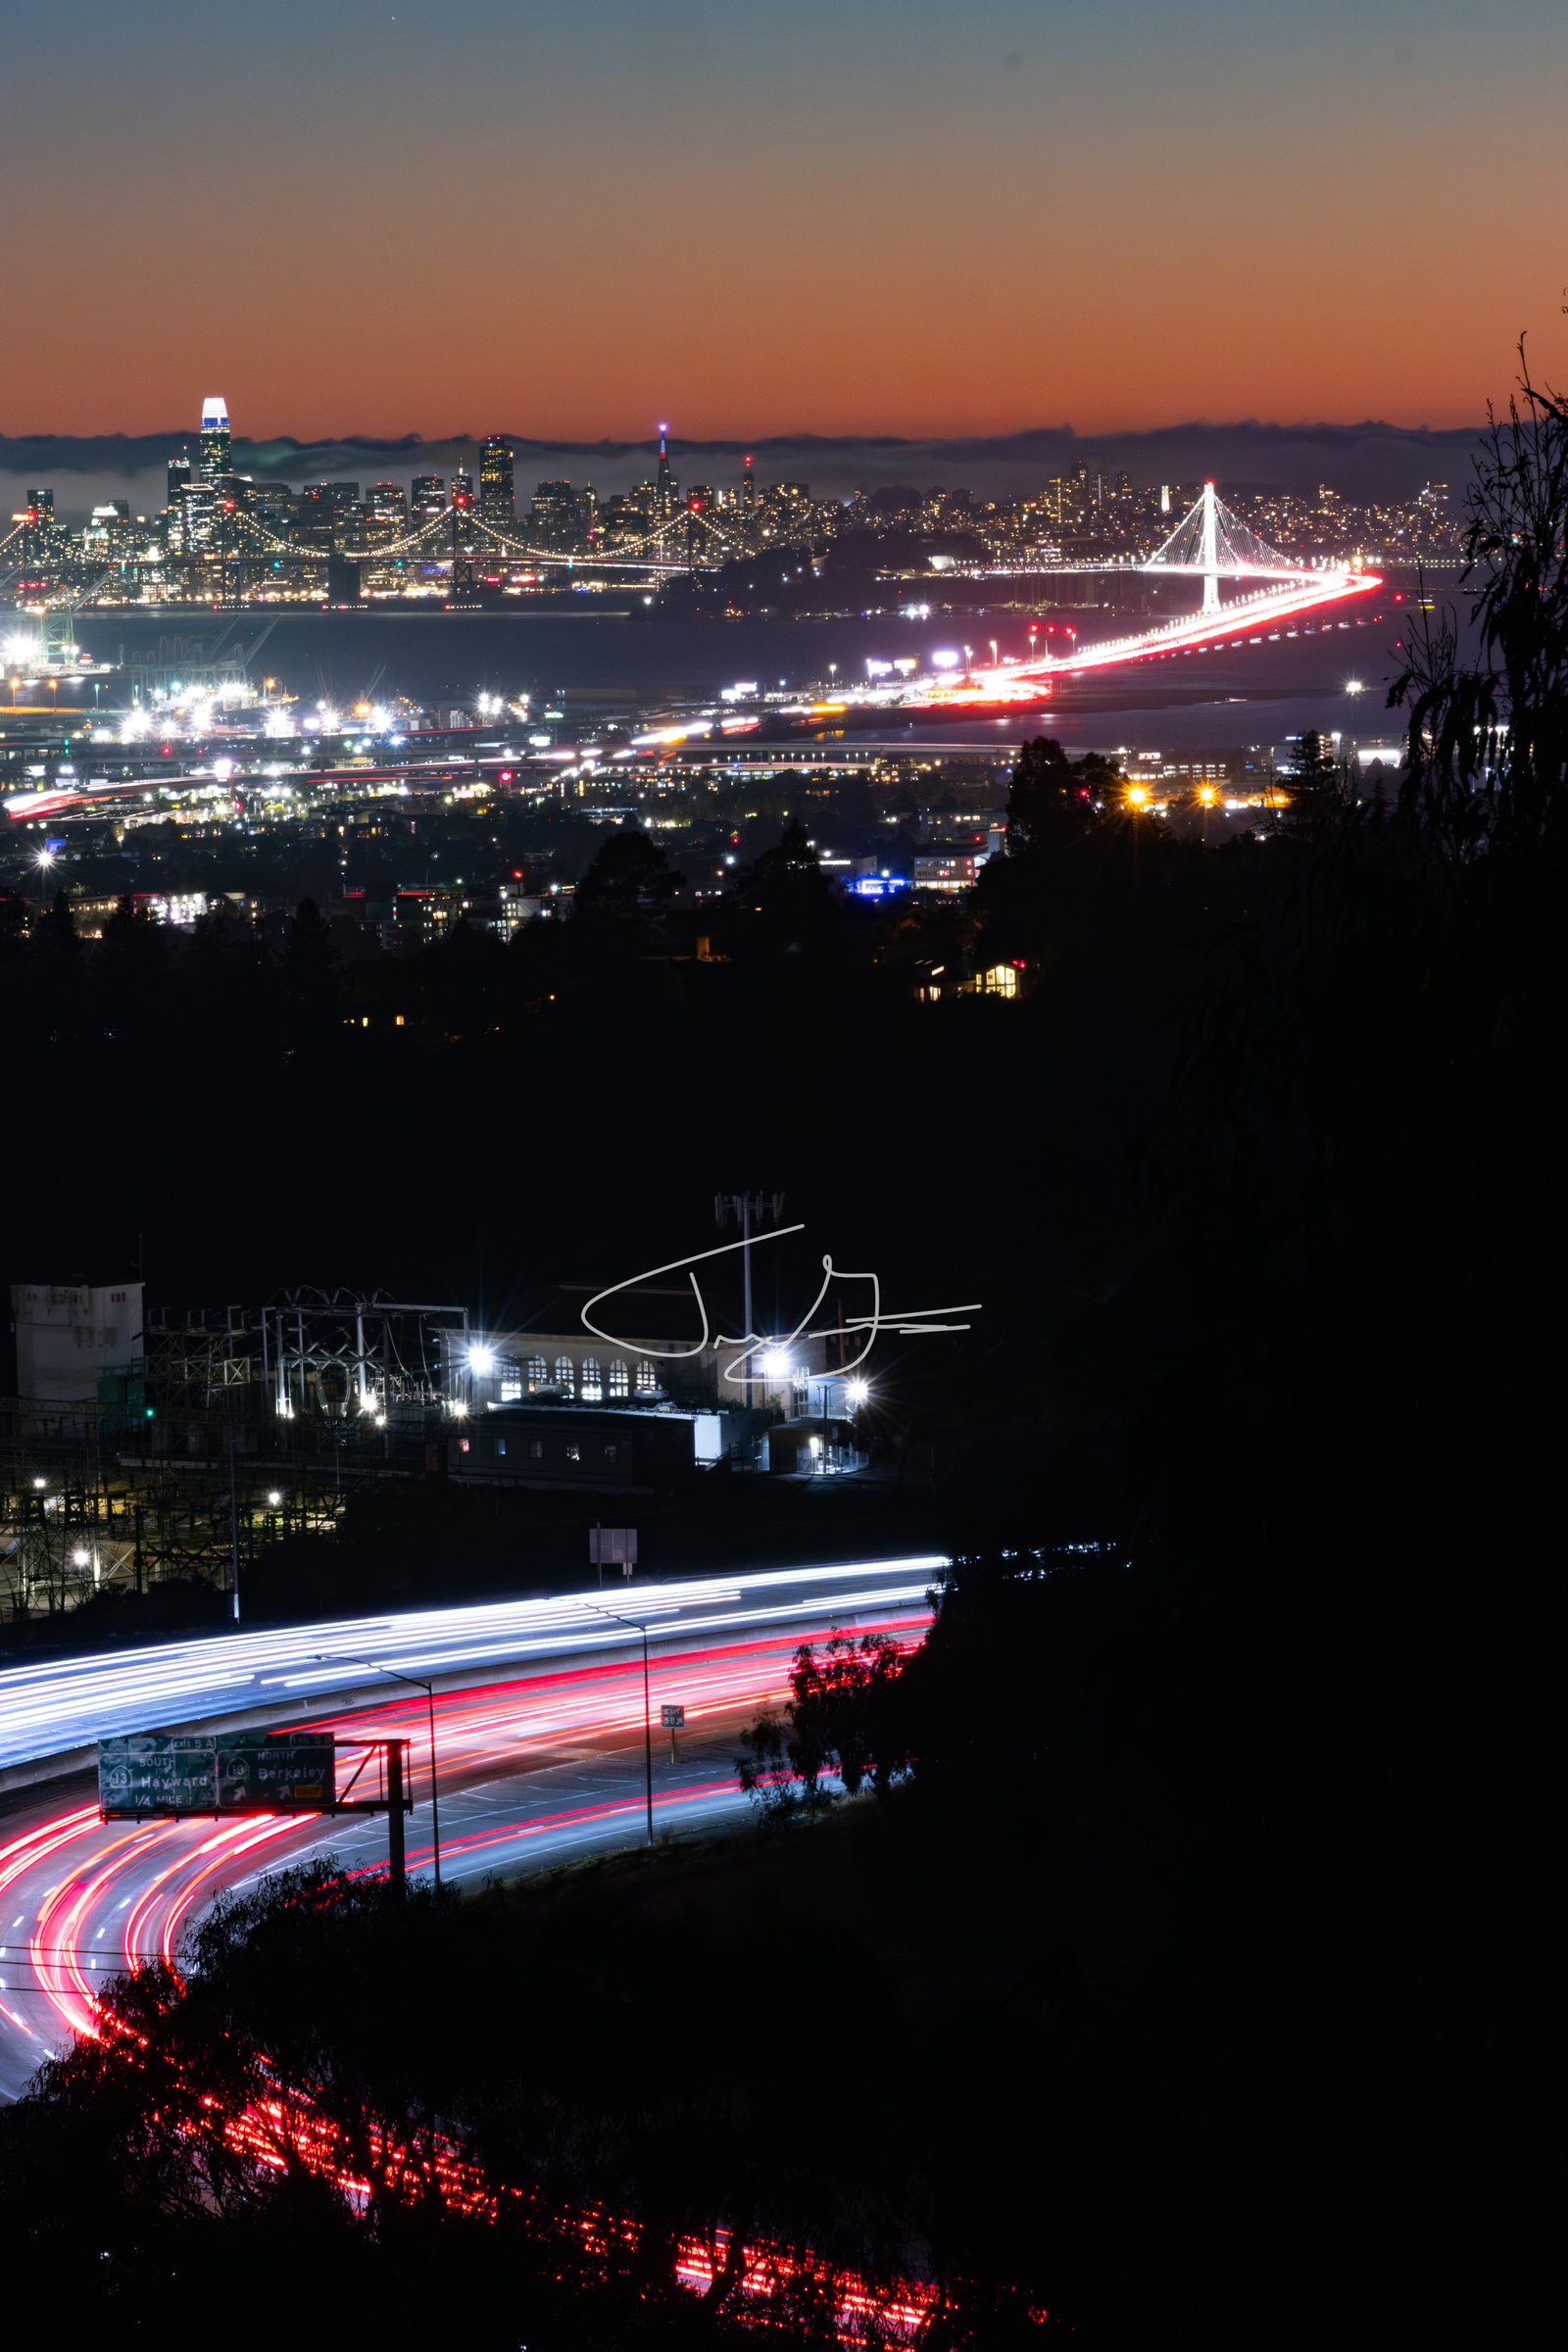
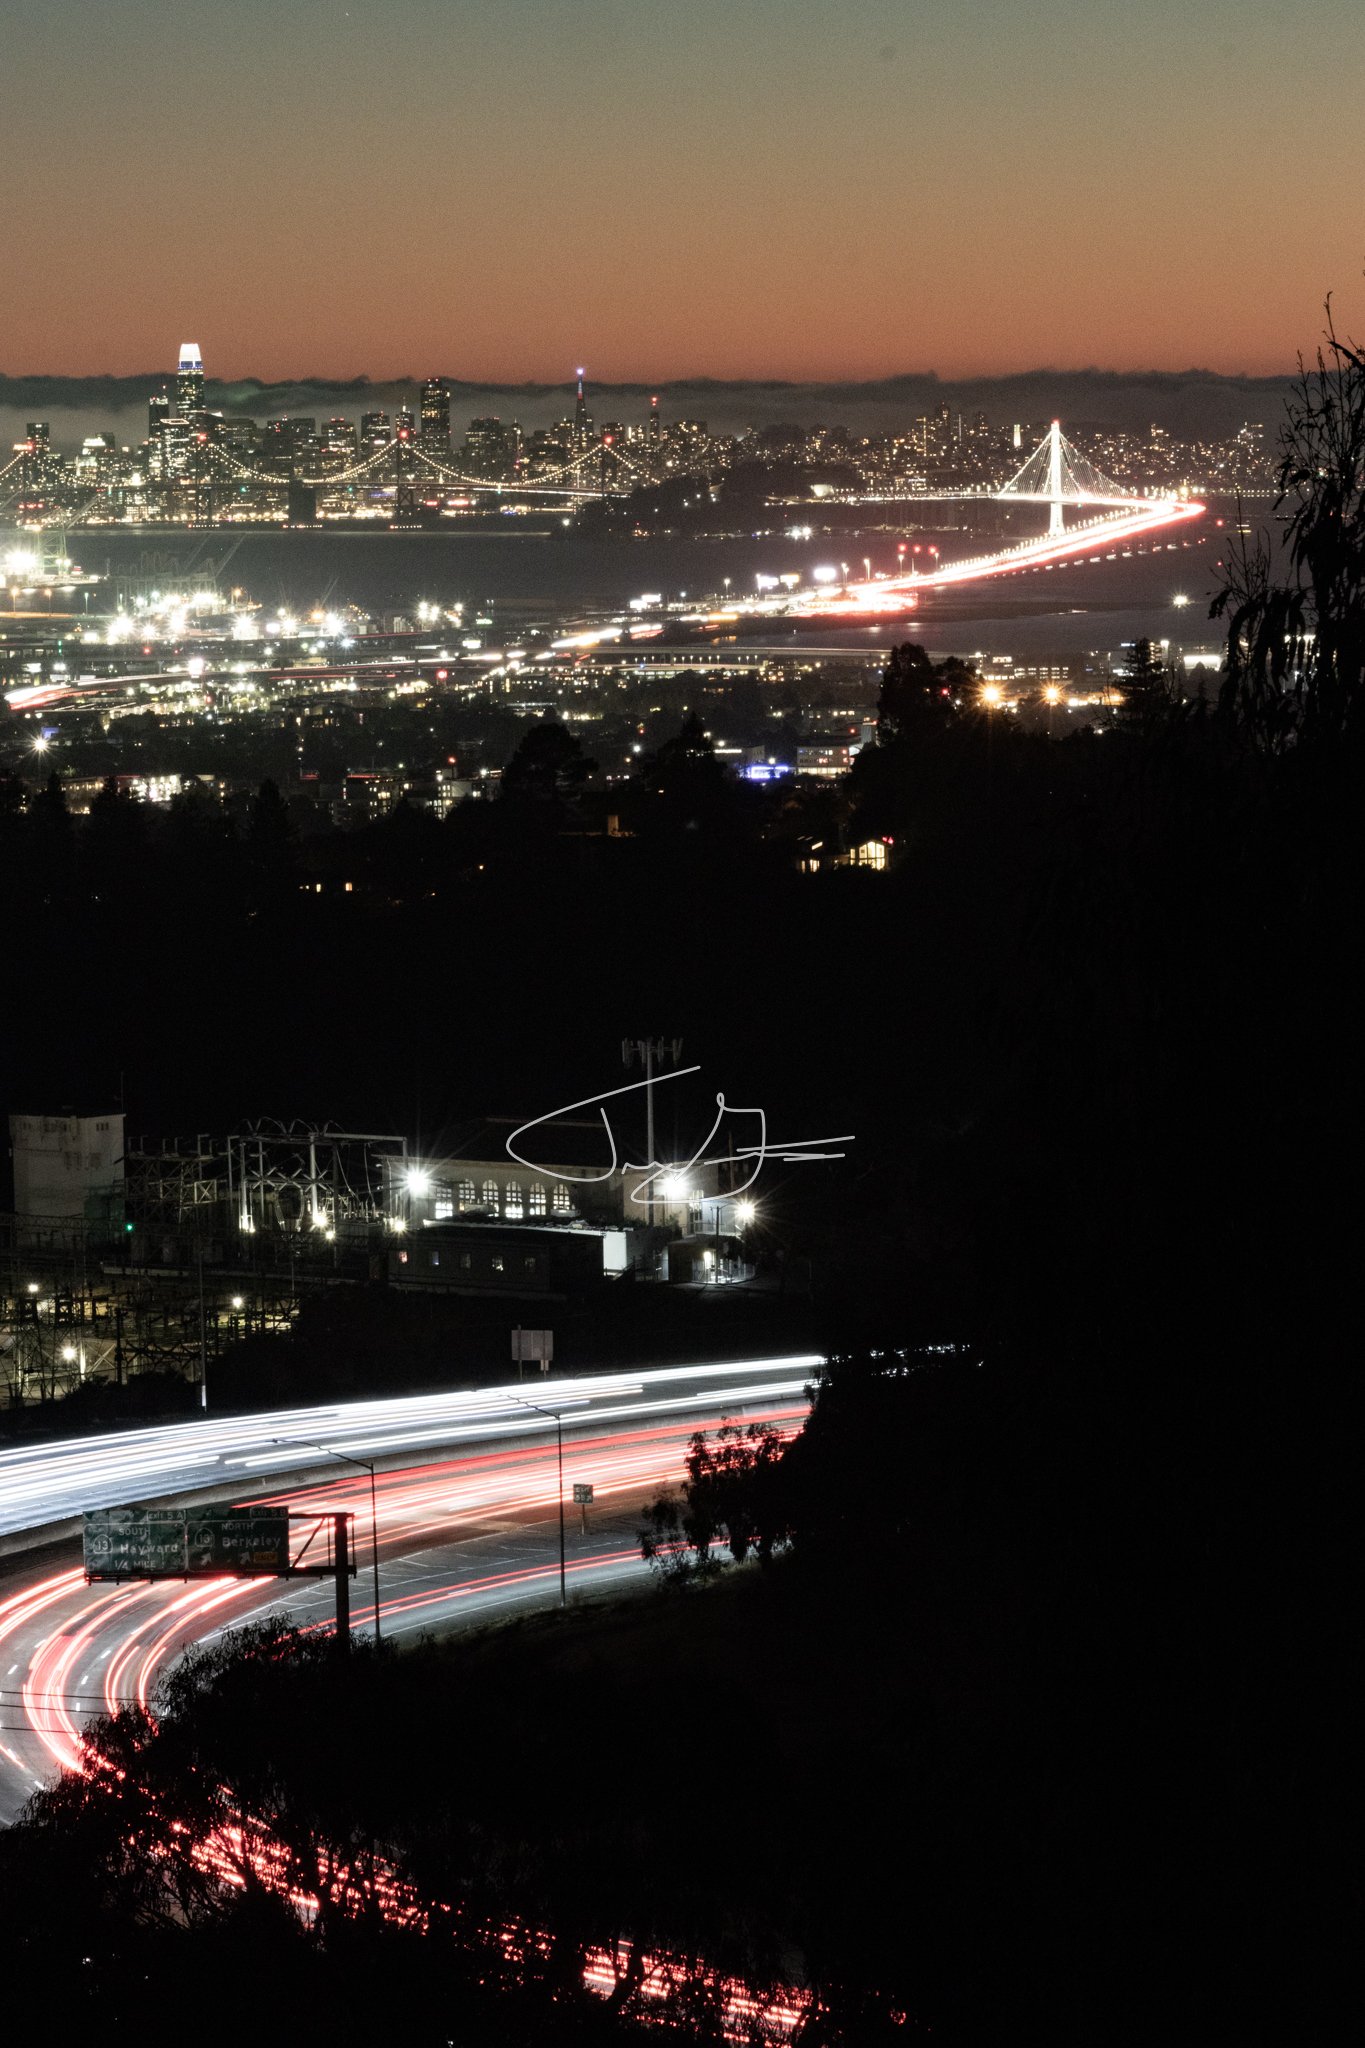
For nightscape and street lights, wait until it is dark and find a busy street. Set up and stabilize your camera with a tripod. Select a longer shutter speed for longer light lines and brighter lights. Reduce ISO to not overexpose, finding a balance. Street photography can be anything human made, but I do not consider someone else’s art my own! This is a good topic for discussion.
Post Processing:
Slightly desaturate the setting to bring out the light lines. Dehaze the image with lightroom and increase contrast. Align the image so the horizon is level.
Fun Fact:
I was actually photographing a comet at the same time. I just thought it was a good view and I could get light streaks. It is overlooking San Francisco on the horizon.